7 mountain days · Mountain camping
Machame Route
The 'Whiskey' route — scenic, varied and excellent for acclimatisation.
- Climb the Barranco Wall
- Lava Tower acclimatisation hike
A practical starting point for your trek to Uhuru Peak: choosing a route, allowing time for altitude and packing for rainforest, alpine desert and summit-night cold.
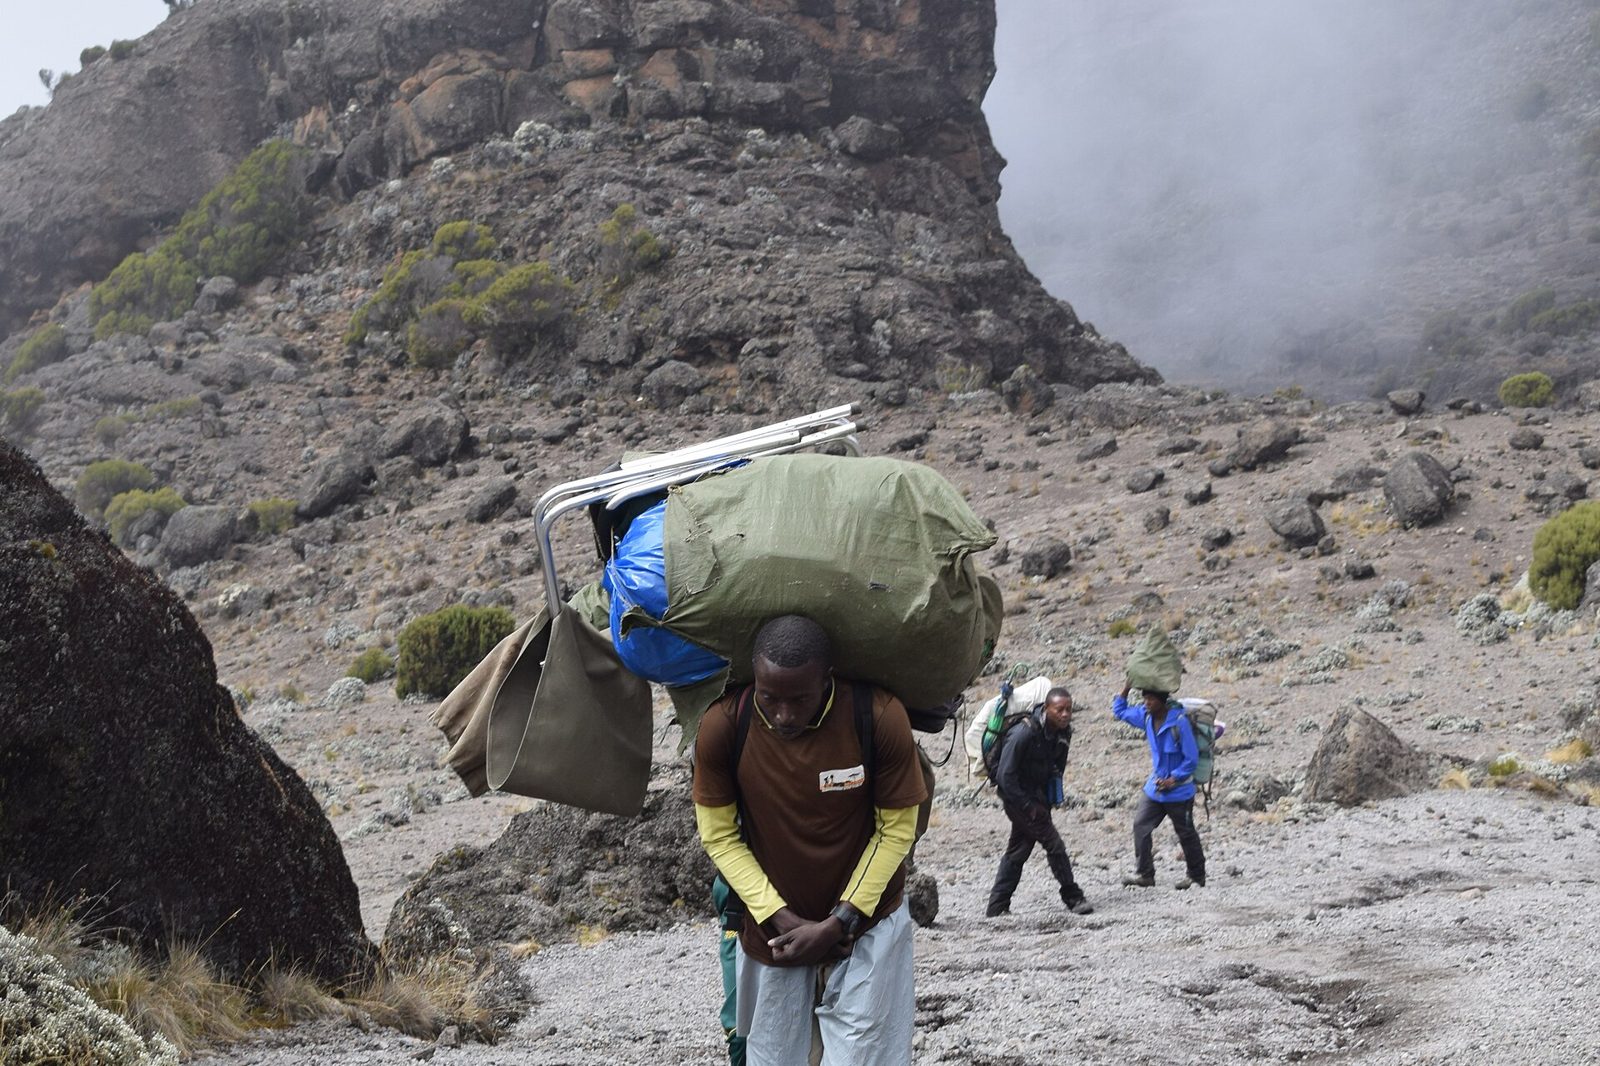
Most standard routes are walking treks rather than technical climbs, but altitude makes every route demanding. Compare the ascent profile, mountain days and sleeping arrangements, not just the shortest duration. Allow separate time for arrival, briefing and onward travel as shown in your itinerary.
7 mountain days · Mountain camping
The 'Whiskey' route — scenic, varied and excellent for acclimatisation.
8 mountain days · Mountain camping
Remote western approach with the highest summit success rate.
6 mountain days · Hut accommodation
The classic 'Coca-Cola' route with hut accommodation.
7 mountain days · Mountain camping
Quiet northern approach from the Kenyan border, drier in rainy season.
9 mountain days · Mountain camping
The longest, most beautiful circuit with 360° views of the mountain.
6 mountain days · Mountain camping
Steep and direct — for experienced trekkers only.
Marangu uses shared mountain huts, including its five- and six-day variants. Camping routes use mountain tents. Extra acclimatisation time can be valuable; huts do not make the altitude easier.
Fitness helps you cope with walking, but does not prevent altitude illness. A longer itinerary usually allows more gradual acclimatisation. Walk slowly with your guide, eat regularly, drink sensibly and rest between stages. Follow the planned ascent profile rather than adding extra climbs yourself.
Headache, nausea, dizziness, unusual fatigue or loss of appetite at altitude should be reported to your guide immediately. Do not ascend with symptoms of altitude illness; worsening symptoms require descent and medical assessment. Severe breathlessness at rest, confusion or difficulty walking are emergencies: alert your guide immediately and descend with assistance.
Discuss your health conditions and any altitude medication with a qualified clinician before travel. Do not self-prescribe or use medication to push through worsening symptoms. Confirm that your insurance covers trekking to 5,895 metres, rescue and medical evacuation. This guide is general preparation advice, not a medical assessment.
Use layers that can be added or removed throughout the day. Keep critical items waterproofed and test your boots, daypack and headlamp before leaving home. Check your package’s supplied equipment and request rental items in advance; availability and charges require confirmation.
Summit attempts often begin around midnight so climbers reach the crater rim and, if conditions allow, Uhuru Peak near dawn. Your guide sets the departure time, pace and turnaround decision according to weather and the group’s health. Have warm layers, gloves, headlamp, water and easy-to-eat snacks ready before resting.
The summit is only part of a long day: you still need energy and concentration for the descent. Practise consecutive walking days, include hills and downhill walking, and train with your loaded daypack. Never continue toward the summit against your guide’s safety advice.
Tell us your travel dates, walking experience and preferred route. We will help you compare itineraries and confirm your equipment, accommodation and final quote.